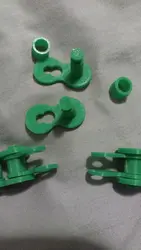
One of 2 builds of Bicycle Repair
3D Printed Bike Chain
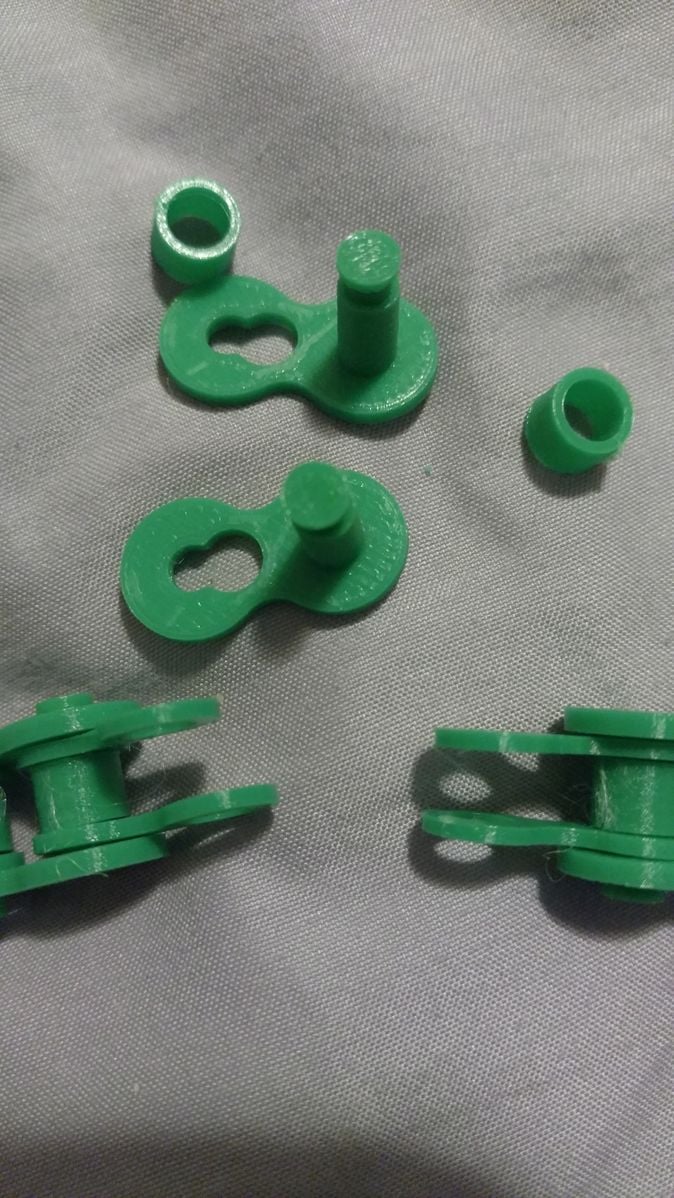
A snap-together printed chain from bracket, spacer and connector parts.
Source: https://www.appropedia.org/Bike_Chain. Original author: User:Mlfraser · CC-BY-SA-3.0.
- Estimated cost
- —
- Tools
- 1
- Time
- An afternoon
Summary
A bicycle chain assembled entirely from 3D printed brackets, spacer rings and connector brackets that snap together.
Build steps
7
-
Build the first pair
Take two main brackets, and place a connector bracket, spacer ring, and another connector bracket on the cylinder of one of them.

-
Nest the brackets
With the assembly just made, place the cylinder of each of the main brackets inside the larger hole of the other.

-
Snap them together
Pull on both brackets to snap them into place of the smaller hole.

-
Prepare the next link
Take 2 more main brackets, 2 more spacer rings, and 2 more connector brackets. Place a spacer ring between two connector brackets.

-
Assemble the opposite bracket
Assemble the other main bracket with a connector bracket, a spacer, and another connector bracket.

-
Snap the pair
Snap the assembled main brackets together as before.

-
Close the loop
Continue this process until just two main brackets are left. Place a spacer between the connector brackets at the join to close the chain.