One of 4 builds of Rocket Stove
Also written in: français, español
CCAT Rocket Stove
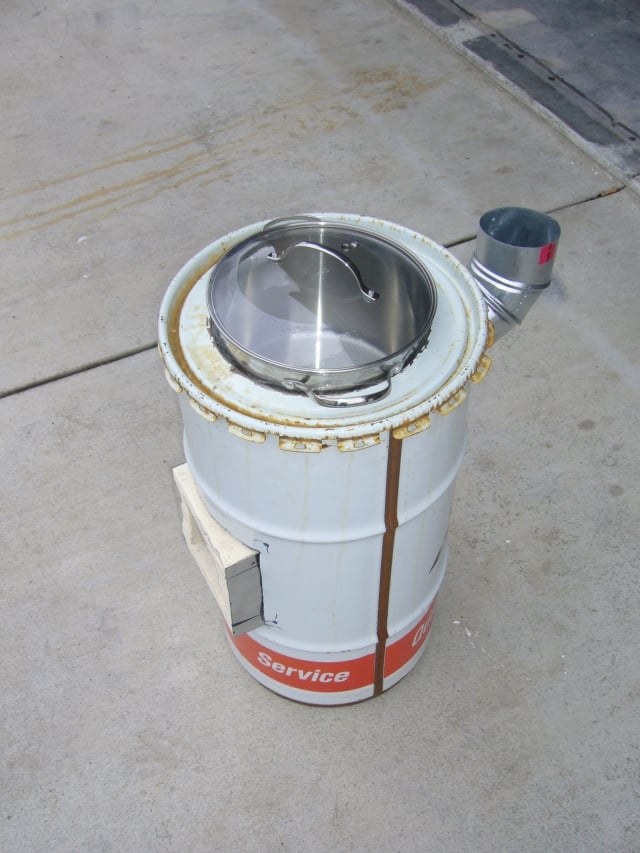
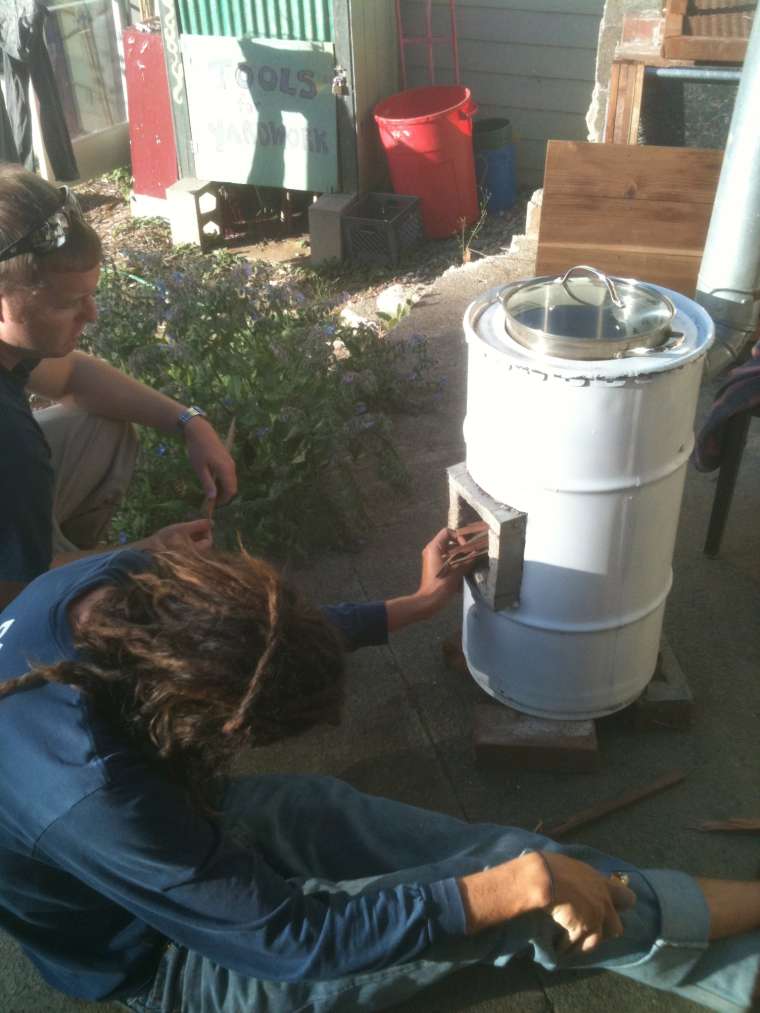
An insulated biomass cookstove built into a 16 gallon drum.
Source: https://www.appropedia.org/CCAT_rocket_stove. Original author: Dan Moyer, Tyler Jones, Logan Ward, Erik Rasmussen · CC-BY-SA-3.0.
- Estimated cost
- $102.02
- Parts
- 7
- Tools
- 4
- Time
- Several weekends
- Drum size
- 16 gallon
- Cooking pot
- 8 quart
- Total stated in source
- $84.02
Summary
A rocket stove built at the Campus Center for Appropriate Technology. The combustion chamber is insulated ceramic brick inside a 16 gallon drum packed with vermiculite, with a sheet metal shelf, a pot skirt and a chimney.
Model & drawings
5
Build steps
10
-
Build the combustion chamber
The square combustion chamber was constructed out of insulative bricks. Bricks were cut and shaped using a hack saw. Heat resistant putty was used as sealant.

Fig 1: Combustion chamber -
Make the metal bracket and case
A metal bracket supports a sheet metal case that holds the combustion chamber in place. The metal was cut out with tin snips and fastened with screws at the edges.

Fig 2.1: Metal Bracket -
Cut the barrel opening
Drill and tin snips are used to cut a square out of the barrel corresponding to the dimensions of the metal casing. The casing for the combustion chamber fits into the hole, protruding on both sides.

Fig 1.2: Combustion chamber inside the barrel -
Secure the casing
The casing is firmly secured to a metal beam that stretches across the barrel. This beam is secured on both sides with L brackets.

Fig 1.1: Metal Case -
Insulate with vermiculite
Vermiculite is poured into the barrel in order to insulate the combustion chamber. This insulation fills the space between the chamber and the barrel and is filled as high as the top of the chamber.

Fig 2.2: Barrel filled with Vermiculite -
Install the sheet metal shelf
At the top opening of the combustion chamber we constructed a metal shelf. This shelf is circular and perfectly fits inside of the barrel. It has a square cut in it corresponding to the top opening of the combustion chamber. This allows for gasses to pass through, but seals them off from the bottom half of the barrel. The shelf is secured firmly to the outside of the barrel with L brackets and screws.

Fig 3: Sheet metal shelf -
Build the pot skirt
In the top half of the barrel, we constructed a skirt. This skirt surrounds the cooking pot, leaving a small gap on the bottom and the sides. The skirt was constructed out of a can. We used tin snips to cut a square opening in the bottom to channel the hot gasses. The top of the can was cut completely open with a Sawzall. The skirt is fastened to the shelf with screws and washers.

Fig 4.1: Skirt -
Seat the pot in the barrel top
The pot is inserted into an opening in the top of the barrel. Here we have cut out a circle with tin snips and then carefully bent the metal down at a right angle using square pliers and a mallet. This way the pot is extra sealed and the opening for it is not jagged or sharp.

Fig 4.2: Skirt inside barrel -
Fit the chimney
We cut a hole out of the upper side of the barrel and fastened a circular metal chimney over the hole using screws.

Fig 5.1: Lid -
Use the stove
To use our rocket stove, burn fuel inside the combustion chamber and set the pot inside the skirt.

Fig 6: Stainless steel pot