3D Printed Shoes
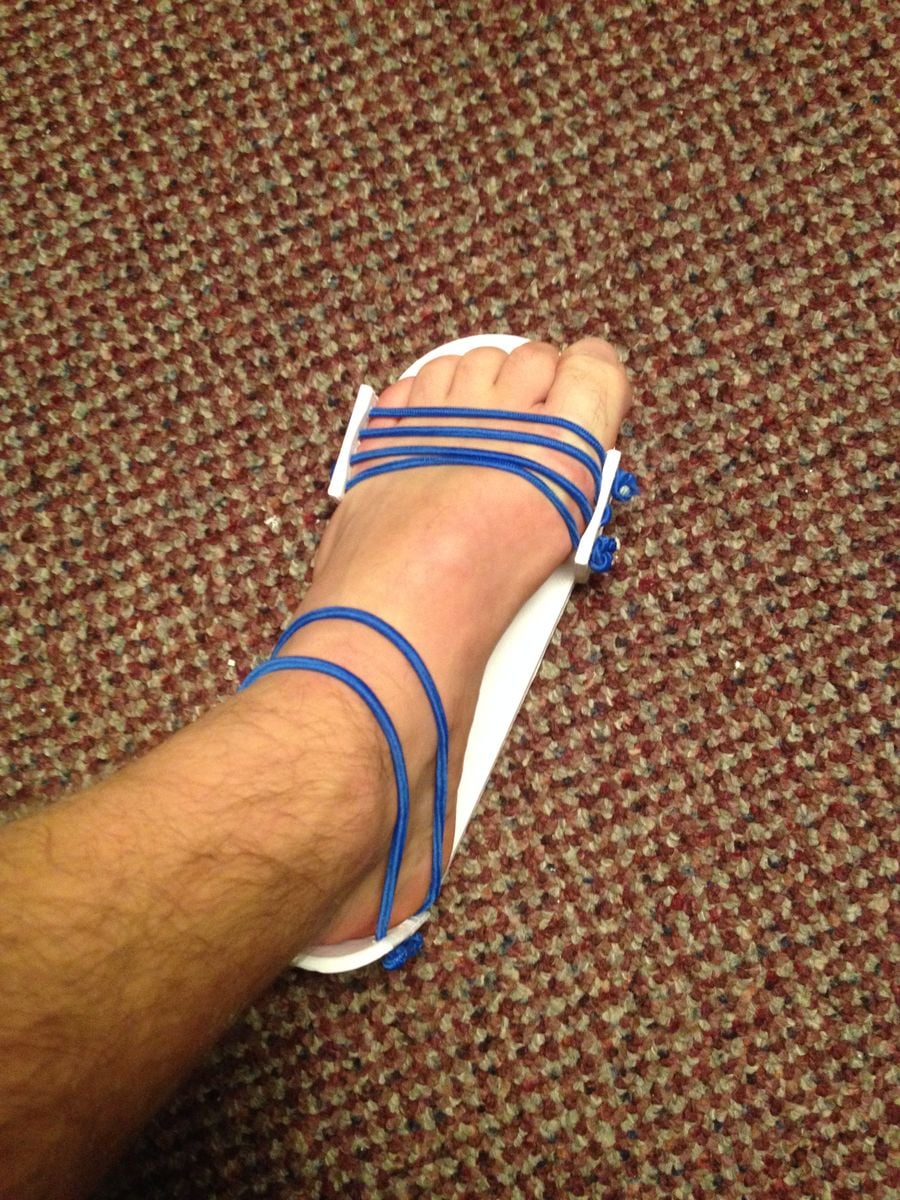
A printed sandal substrate sized from a tracing of your own foot.
Source: https://www.appropedia.org/3D_printed_shoes. Original author: User:Sjhelmin · CC-BY-SA-3.0.
- Estimated cost
- $28.23
- Parts
- 2
- Tools
- 2
- Time
- A weekend
- Print time
- about 3 hours per substrate at 20% fill
- Strap holes
- 5/32 inch diameter
- Source model size
- US men's size 8
Summary
A shoe printed from a parametric OpenSCAD model, sized from measurements taken off a tracing of your own foot, with bungee cord straps.
Build steps
14
-
Trace your foot
Place your bare foot on a piece of paper. Trace the outline of your foot on the paper.

Tracing your foot. -
Measure the tracing
Take the trace of your foot and measure the length of your foot and the cross-section at several points. Allow about 20 minutes.

-
Edit the model
In OpenSCAD change the dimensions regarding the cross-section measurements and the distances between cross-sections.
-
Export the mesh
Once the scad is complete, export to .stl
-
Slice it
Open the .stl file using Cura and slice it for your printer.
-
Load the G-code
Save the G-code and open with printer controller.
-
Print the substrate
Begin the print. Printing of the shoe substrate will be approximately 3 hours per substrate at 20% fill.

-
Drill the strap holes
Once printed, 4 holes of 5/32 inch diameter will need to be drilled on each side of the strap supports.
-
Knot the strap
Take the 4 mm diameter bungee cord and tie a double knot on one side.

-
Thread the strap
Thread the rest of the holes with the bungee cord. Once complete, tie a knot and cut off the remaining bungee cord.

-
Start the ankle loop
Take the remaining bungee cord and tie a knot in one of the ends.
-
Thread the ankle support
Begin in one of the bottom holes of the ankle support and thread the hole, pulling until the knot hits the substrate.

-
Form the ankle loop
Make a loop that will go around the ankle, return to the hole on the other side of the ankle support, and thread it.

-
Finish
Take the bungee cord and thread the hole directly above the current hole and create another loop ending with a knot.